
I researched hours on hours to make it easier as possible to build your recording studio at home.
Making your home recording studio can be a confusing and long process. In this article, I try to simplify it as possible so that you can understand the basics.
Here is the list of steps
#1 computer
#2 DAW
#3 audio interface
#4 microphone
#5 headphones and speakers
#6 cables
Setup phase
#1 choose the best room
–Small rooms
–Outside noise
-Bad floor material
-Bad acoustic
#2 clean your room
#3 acoustic treatment
#4 monitor position
#1 computer
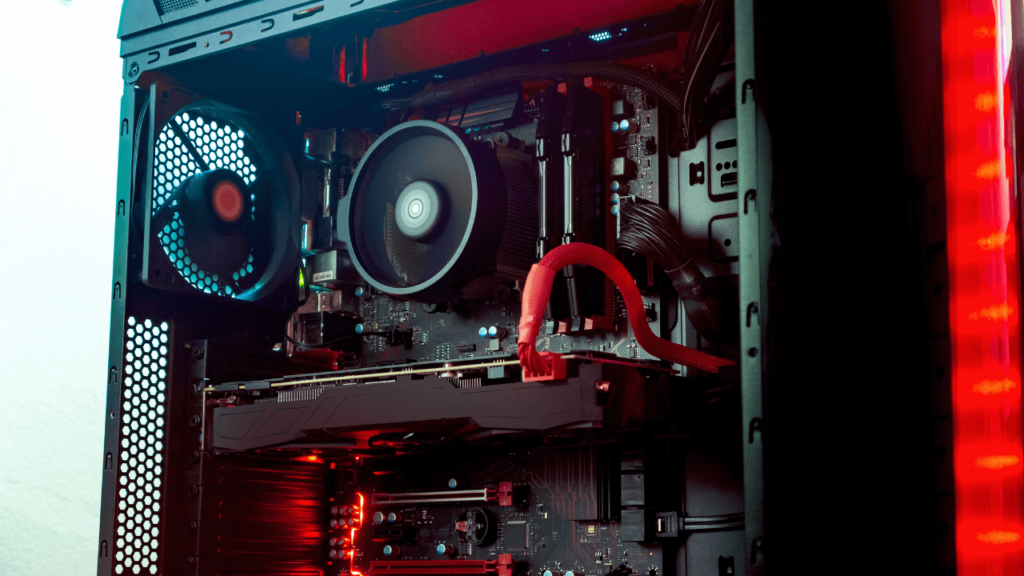
You probably have one, but it is essential to set up a recording studio if you don’t.
A computer will store your projects, run your recording software and connect to your equipment.
You could hypothetically use your phone, but I don’t suggest it as the quality won’t be near as good as using a regular computer.
There are even audio interfaces for phones, but it’s too much engagement and could cost the same as buying a new pc and an audio interface altogether.
#2 DAW

The software lets you record, mix, and tweak, depending on the version and the brand you chose.
There are plenty of DAWS like FL studio, Pro Tools, Logic, and a lot more.
If you want to record audio without spending much on premium DAWS, you can use free and simple-to-use software called audacity.
To read more about free DAWS, check out this article.
#3 audio interface
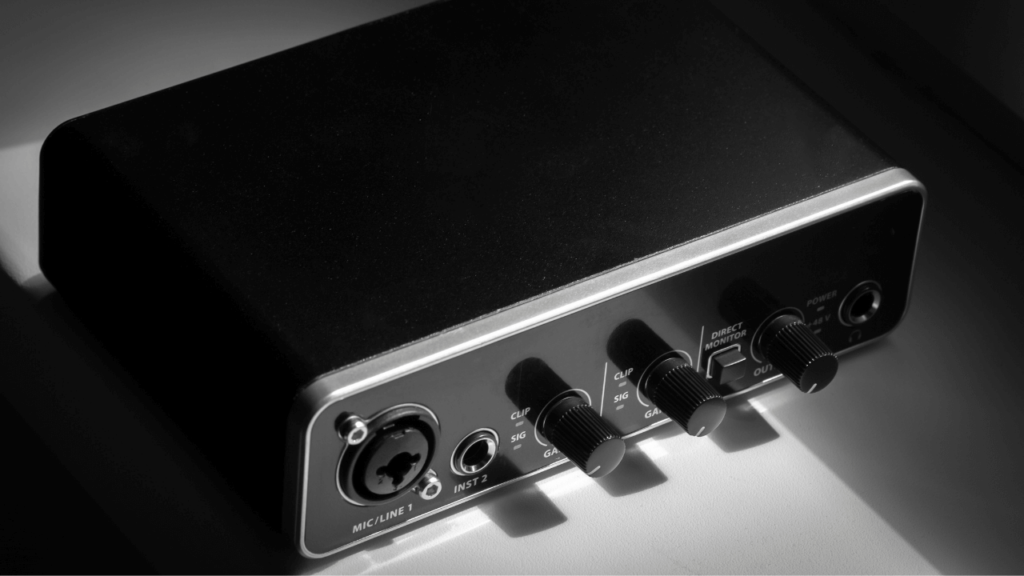
The audio interface is the hardware that connects your computer to the other equipment for better audio signals transference.
Most of the audio cards on computers this day aren’t enough to record high-quality audio.
You can buy a cheap yet good audio interface that does the job for 100$.
There are even audio interfaces that come with a DAW
#4 microphone
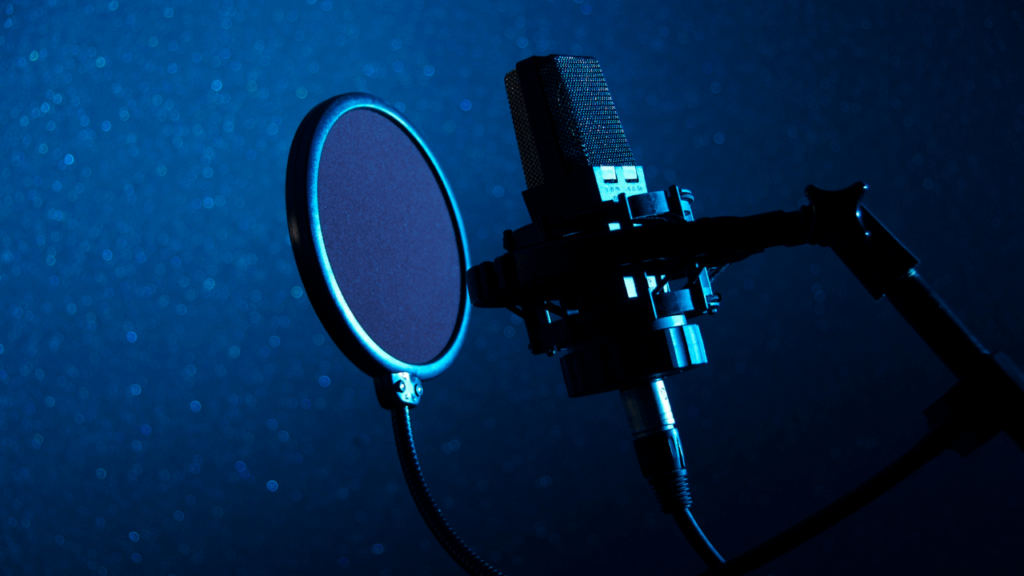
You probably read this article to make your recording studio at home, and if you want to record anything, you could use your smartphone and even the old Nokia. But to if you’re going to take it seriously and make high quilty audio, you need a real microphone.
There are two main types of microphones dynamic microphone and condemns microphone,
-Dynamic microphones are better for speech, rappers, and loud sounds.
-Condemns microphones are more sensitive, bring clearer sound with a greater range of frequencies, suitable for singing, guitar, piano, and more gentle sounds.
There is another subcategory for Condemns microphones you should know if you want to build up a home recording studio and its
Large-diaphragm microphones – for more natural voice sound aka better for vocal performance.
Small diaphragm microphones – better if you need to record guitar and quicker sounds like a fingerpicking pattern.
You may also consider buying mic accessories like a mic stand, a pop filter to remove popping sounds, and a suitable cable to connect to the interface.
#5 headphones and speakers
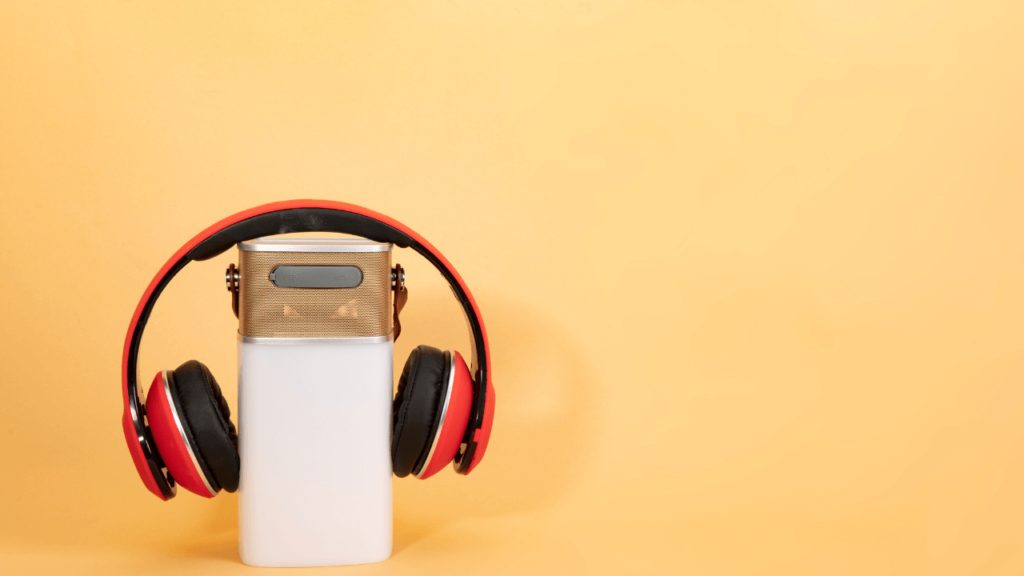
Pair of professional high-quality studio headphones is essential.
There are two types, closed back and open back.
For your first recording studio, stick to the closed-back.
Although you can hear the sound of your project with just the headphones, I suggest buying good studio monitors(not hi-fi) because it would increase the overall performance of the audio after you tweak it.
Remember, the people who would listen to the stuff you make don’t necessarily use headphones.
If you are on a budget, consider using your car as a substitute for the studio monitors. Just remember to disable the equalizer built-in.
#6 cables
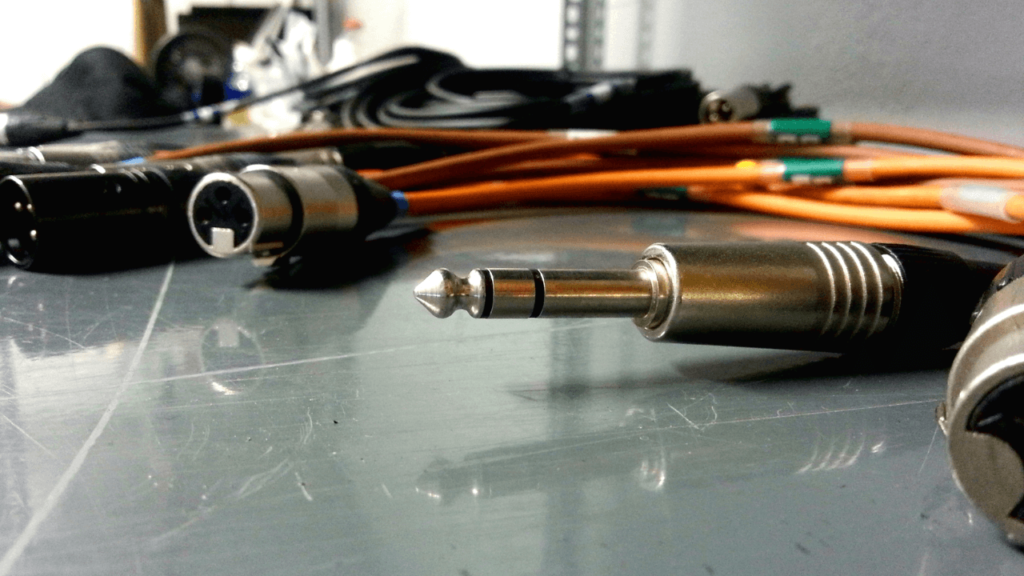
There are many types of cables, balanced, unbalanced and etcetera, but for your home recording studio, you need
and also probably XLR cables for your monitors
When you need more cables, you know it.
Setup phase
#1 choose the best room
You’ll rarely be able to find the ideal room, place the speakers properly, and handle the space flawlessly.
But even if you can use some of the tips below, your work would be easier and more professional.
Avoid
Small rooms
The recording quality degrades as the room becomes smaller. Of course, if space is treated correctly, this will be less of an issue.
Just choose the biggest room you can.
Outside noise
When you choose a room, you need to consider the sound comes from the street or neighbors.
You don’t want any cars or bird sound in your recordings.
Choose the quietest room you can find.
Remember that you make sounds too, so take into count your neighbors, and choose a room you can use at any time of the day.
Bad floor material
Don’t choose a room with carpeted floor.
The carpet can absorb some frequencies and can hurt the acoustic.
Instead, go with hard floorings such as tiles or hardwood.
Bad acoustic
You can do acoustic treatment for your room.
Avoid, Low Ceilings and Parallel Walls rooms since they hurt the acoustic.
#2 clean your room
Everything you don’t need in the room shouldn’t be in the room, so take out everything you can and not essential.
Objects in the room can hurt the acoustic, the recording quality and can distract you. Therefore fewer objects = better.
#3 acoustic treatment
For better sound, it’s essential to fix the acoustic in your room.
It can make a big difference.
Watch more about it here.
#4 monitor position
The best placement of the monitors is vital as their quality.
You want to make an equilateral triangle between you and the studio monitors in the monitor’s placement – not too wide and not too narrow.
Plus, you want to point the speakers directly to you, so the sound goes straight to your head.
You also want to adjust the height of the monitors so it will be the height of your head.
You can adjust the monitor’s position easily with good studio monitor stands.
Watch how to place your monitors here:
What next?
Now you know more about home recording studio
You can read more about music production basics here.
1 thought on “How to Setup Home Recording Studio”